This brief tutorial shows to the users how to install Froxlor Server Management Panel on Ubuntu.
Froxlor is free, simple and lightweight server control software that you can use to manage your servers in a web hosting environments from which you can manage and control your domains, SSL, MySQL databases and other web hosting features from a simple web interface.
These are some of the features that come with Froxlor Server Management Panel:
- WEB domains,
- DNS domains,
- MAIL domains,
- Databases,
- CRON,
- User Directories and more..
To download Froxlor for free, click here
Ready to Install Froxlor? Follow the steps below
Step by Step Guide to Install Froxlor Server Management Panel on Ubuntu with Apache
Step 1: Configure Ubuntu Local Host Domain to install Froxlor Server
To Install Froxlor, first you need to setup Ubuntu local domain on the server and to do that, run the commands below to open the Ubuntu local hosts file..
sudo nano /etc/hostsThen type in the server address to domain mapping… You can use your public IP address instead of the local one…
127.0.0.1 froxlor.example.comShould look like the lines below:
127.0.0.1              localhost
127.0.1.1              ubuntu1804
127.0.0.1              froxlor.example.com

# The following lines are desirable for IPv6 capable hosts
::1     ip6-localhost ip6-loopback
fe00::0 ip6-localnet
ff00::0 ip6-mcastprefix
ff02::1 ip6-allnodes
ff02::2 ip6-allrouters
Save the file and exit
Step 2: Install Apache2
Froxlor is PHP-based and requires a webserver… The most popular open source web server in use today is Apache2… To install Apache2, run the commands below:
sudo apt update
sudo apt-get install apache2
After installing Apache2, the commands below can be used to stop, start and enable Apache2 service to always start up with the server boots.
sudo systemctl stop apache2.service
sudo systemctl start apache2.service
sudo systemctl enable apache2.service
To test Apache2 setup, open your browser and browse to the server hostname or IP address and you should see Apache2 default test page.. When you see that, then Apache2 is working as expected..
for example, http://localhost
Step 3: Install MariaDB Database Server
MariaDB database server is a great place to start when looking at open source database servers to use with Froxlor…
To install MariaDB run the commands below…
sudo apt-get install mariadb-server mariadb-clientAfter installing MariaDB, the commands below can be used to stop, start and enable MariaDB service to always start up when the server boots..
Run these on Ubuntu
sudo systemctl stop mariadb.service
sudo systemctl start mariadb.service
sudo systemctl enable mariadb.service
After that, run the commands below to secure MariaDB server by creating a root password and disallowing remote root access.
sudo mysql_secure_installationWhen prompted, answer the questions below by following the guide.
- Enter current password for root (enter for none): Just press the Enter
- Set root password? [Y/n]: Y
- New password: Enter password
- Re-enter new password: Repeat password
- Remove anonymous users? [Y/n]: Y
- Disallow root login remotely? [Y/n]: Y
- Remove test database and access to it? [Y/n]: Y
- Reload privilege tables now? [Y/n]: Y
Restart MariaDB server
To test if MariaDB is installed, type the commands below to logon to MariaDB server
sudo mysql -u root -pThen type the password you created above to sign on… if successful, you should see MariaDB welcome message
Step 4: Install PHP 7.2 and Related Modules
PHP 7.2 may not be available in Ubuntu default repositories… in order to install it, you will have to get it from third-party repositories.
Run the commands below to add the below third party repository to upgrade to PHP 7.2
sudo apt-get install software-properties-common
sudo add-apt-repository ppa:ondrej/php
Then update and upgrade to PHP 7.2
sudo apt updateNext, run the commands below to install PHP 7.2 and related modules.
sudo apt install php7.2 libapache2-mod-php7.2 php7.2-common php7.2-curl php7.2-posix php7.2-intl php7.2-mbstring php7.2-xmlrpc php7.2-mysql php7.2-gd php7.2-pgsql php7.2-xml php7.2-cli php7.2-imagick php7.2-bcmath php7.2-gmp php7.2-zipAfter installing PHP 7.2, run the commands below to open PHP default config file for Apache2…
sudo nano /etc/php/7.2/apache2/php.ini
Then make the changes on the following lines below in the file and save. The value below are great settings to apply in your environments.
file_uploads = On
allow_url_fopen = On
short_open_tag = On
memory_limit = 256M
upload_max_filesize = 100M
max_execution_time = 360
date.timezone = America/Chicago
After making the change above, save the file and close out.
To restart Apache2, run the commands below
sudo systemctl restart apache2.serviceTo test PHP 7.2 settings with Apache2, create a phpinfo.php file in Apache2 root directory by running the commands below
sudo nano /var/www/html/phpinfo.phpThen type the content below and save the file.
<?php phpinfo( ); ?>Save the file.. then browse to your server hostname followed by /phpinfo.php
http://localhost/phpinfo.php
You should see PHP default test page…
Step 5: Create Froxlor Database to install Froxlor Server
Now that you’ve install all the packages that are required, continue below to start configuring the servers. First create a Froxlor database.
Run the commands below to logon to MariaDB. When prompted for a password, type the root password you created above.
sudo mysql -u root -pThen create a database called froxlor
CREATE DATABASE froxlor;Create a database user called froxloruser with new password
CREATE USER 'froxloruser'@'localhost' IDENTIFIED BY 'new_password_here';Then grant the user full access to the froxloruser database.
GRANT ALL ON froxlor.* TO 'froxloruser'@'localhost' WITH GRANT OPTION;Finally, save your changes and exit.
FLUSH PRIVILEGES;
EXIT;
Step 6: Download and Install Froxlor Latest Release
Next, continue below to download Froxlor package. To download, go to the link below and download the latest version..
After downloading, run the commands below to extract the downloaded file into Apache2 root directory.
wget https://files.froxlor.org/releases/froxlor-latest.tar.gz
tar -xvzf froxlor-latest.tar.gz
sudo mv froxlor /var/www/froxlor
Change or modify the directory permission to fit Apache2 configuration.
sudo chown -R www-data:www-data /var/www/froxlor
sudo chmod -R 755 /var/www/froxlor
Step 7: Configure Apache2
Finally, configure Apahce2 site configuration file for Froxlor. This file will control how users access Froxlor content. Run the commands below to create a new configuration file called froxlor.conf
sudo nano /etc/apache2/sites-available/froxlor.confThen copy and paste the content below into the file and save it. Replace the highlighted line with your own domain name and directory root location.
<VirtualHost *:80>
     ServerAdmin [email protected]
     DocumentRoot /var/www/froxlor
     ServerName froxlor.example.com

     <Directory /var/www/froxlor/>
          Options FollowSymlinks
          AllowOverride All
          Require all granted
     </Directory>

     ErrorLog ${APACHE_LOG_DIR}/error.log
     CustomLog ${APACHE_LOG_DIR}/access.log combined

</VirtualHost>
Save the file and exit.
Step 8: Enable the Froxlor and Rewrite Module
After configuring the VirtualHost above, enable it by running the commands below
sudo a2ensite froxlor.conf
sudo a2enmod rewrite
sudo systemctl restart apache2.service
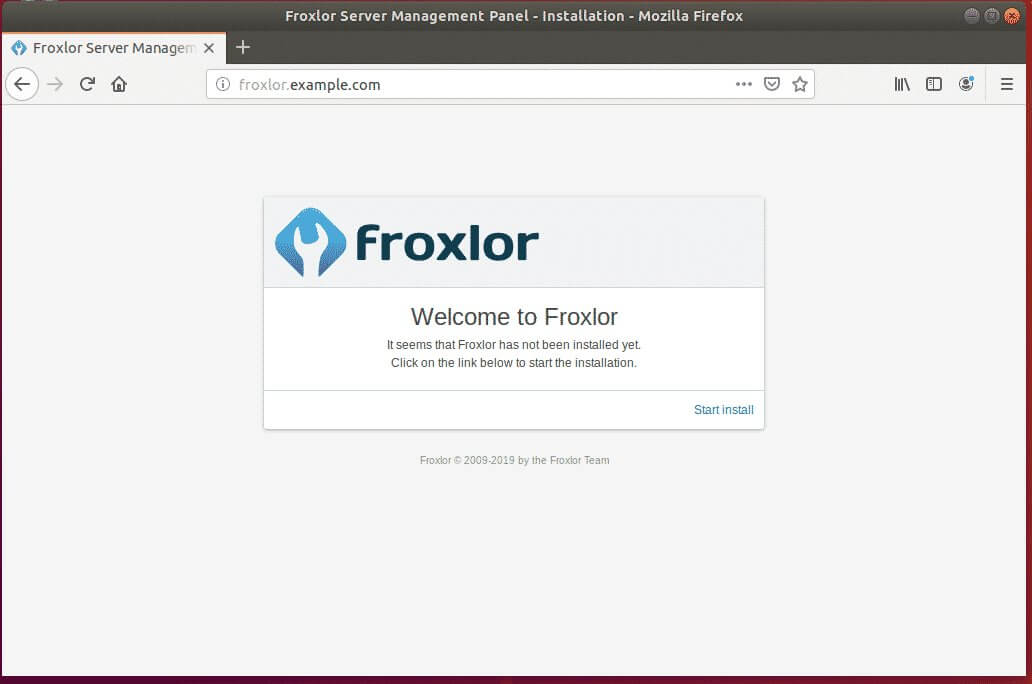
Then open your browser and browse to the server domain name.. You should see Froxlor setup wizard to complete. Please follow the wizard carefully.
http://froxlor.example.com
To install Froxlor, click Start Install to continue
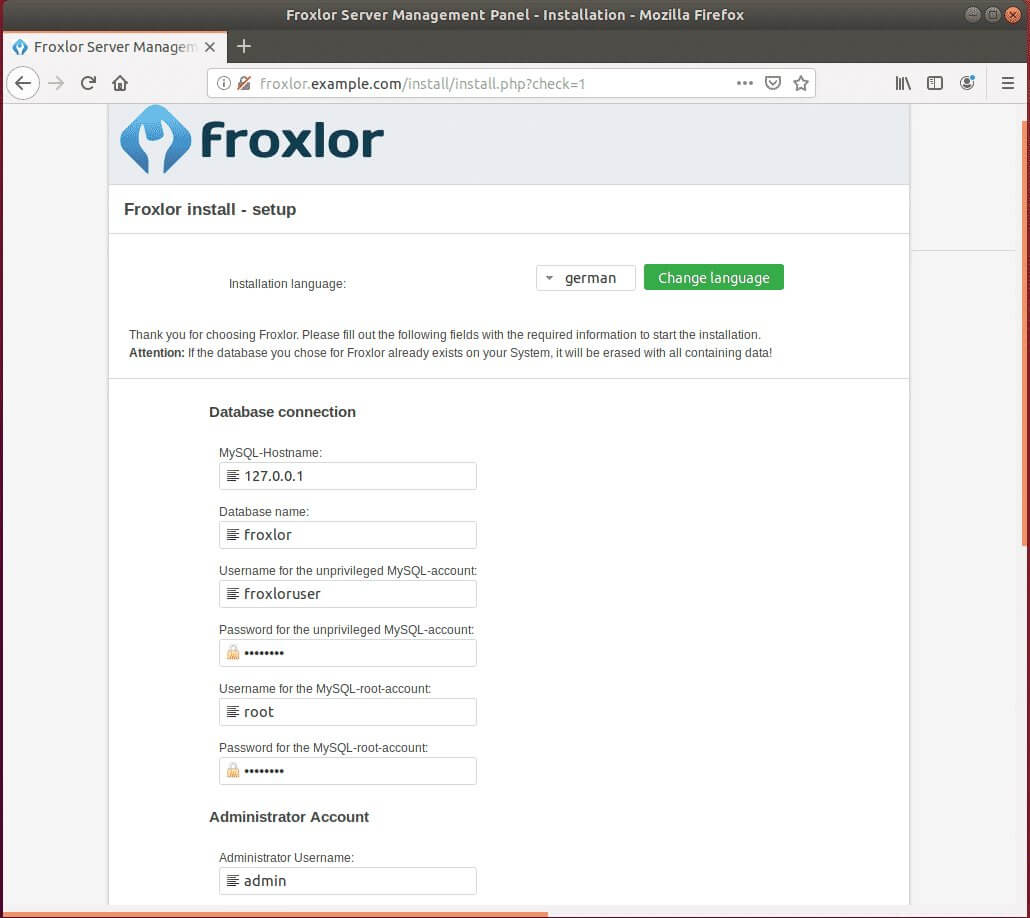
Validate that all requirements are met… then continue to the next page..
On the database configuration page, type in the database name, database username and password.. You’ll also need to type in the database root user account and password..
All other can stay default..
When you click Next and get an error that connection denied for the root@localhost user, follow the steps below to fix:
Logon to MySQL server by running the commands below
sudo mysql -u rootType in the current root password from above…
That should get you into the database server. After that, run the commands below to disable plugin authentication for the root user
USE mysql;
UPDATE user SET plugin='mysql_native_password' WHERE User='root';
FLUSH PRIVILEGES;
exit;
Restart and run the commands below to set a new password.
sudo systemctl restart mysql.serviceTry again and this time it should work….
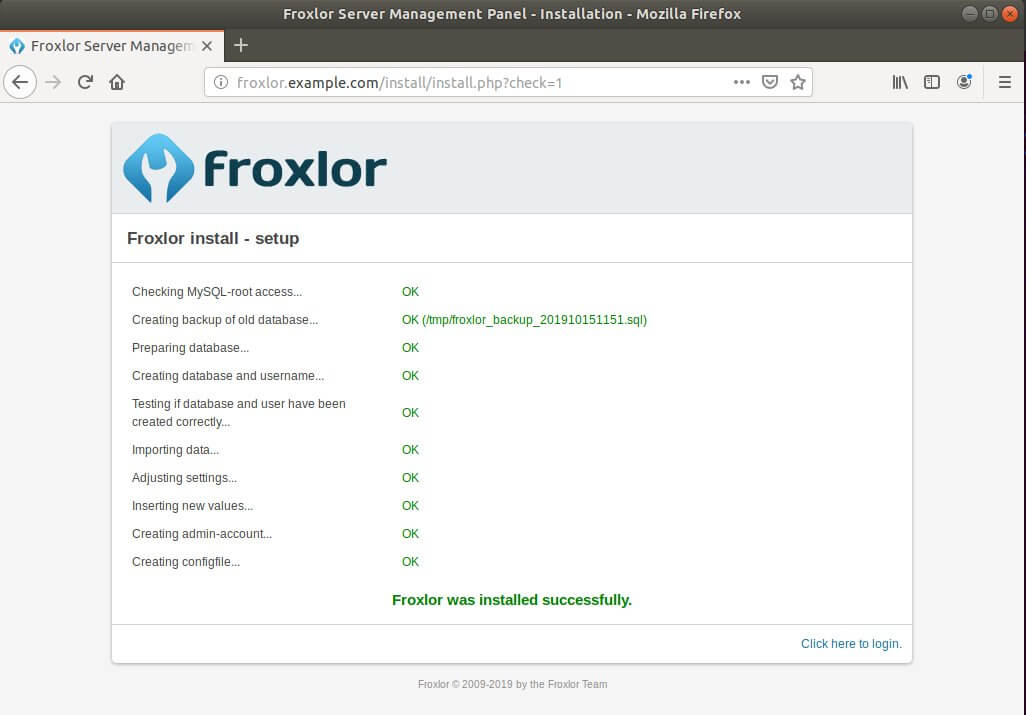
After that, login and begin setting up your environment..
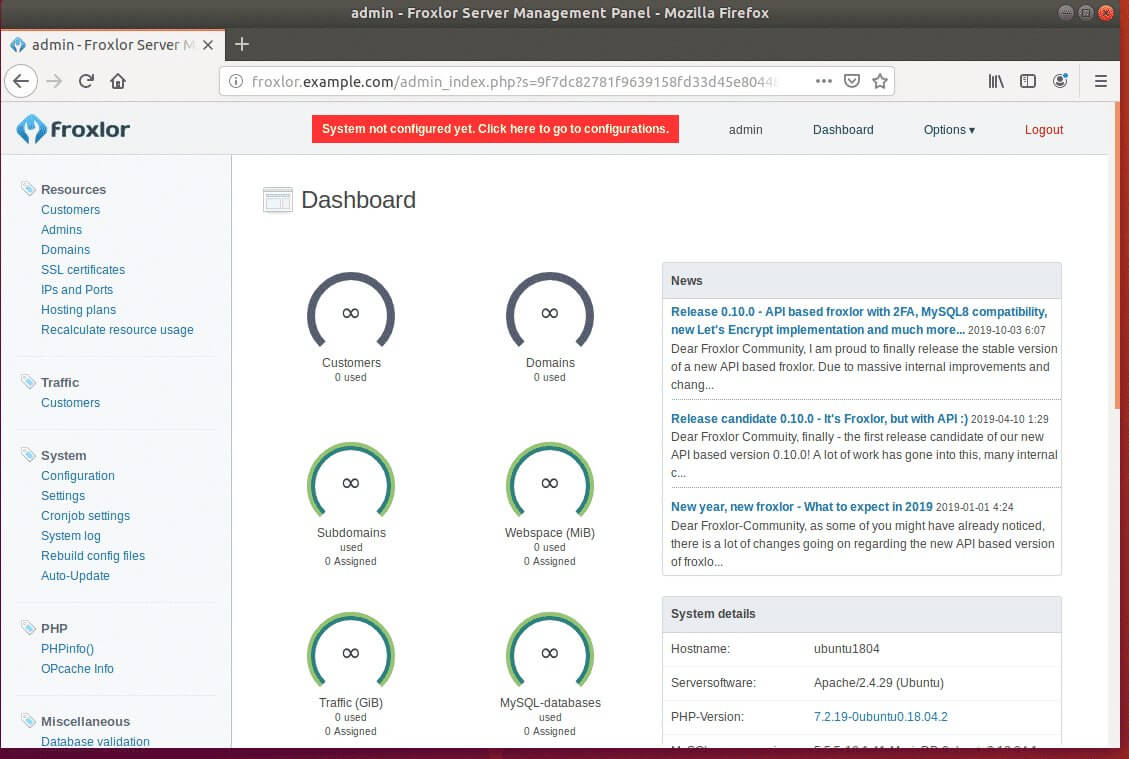
Congratulations! You have successfully installed Froxlor Server Management Panel on Ubuntu
Read Also: Step-by-step guide to Install WordPress on Google Cloud